

Home LED Therapy Guide for Effective Pain Relief at Home
Trying to balance busy schedules with self-care, many British women face the challenge of finding safe and effective ways to tackle acne and early signs of ageing at home. At-home LED therapy wraps have emerged as a promising solution, harnessing technology for gentle, targeted skin renewal. This guide empowers you to prepare, position, and personalise your LED sessions, giving you control over your skin wellness journey while prioritising proper device handling and preparation for optimal results.
Table of Contents
Quick Summary
| Key Insight | Explanation |
| 1. Conduct Device Safety Checks | Inspect the LED device for damage and ensure proper cable integrity before use. |
| 2. Customise Treatment Sessions | Start with shorter sessions and adjust duration based on individual response and recovery needs. |
| 3. Position the Device Correctly | Align the wrap over the target area with even coverage to maximise therapeutic benefits. |
| 4. Monitor Treatment Progress | Keep a journal of pain levels and skin responses to track improvement and adjust protocols. |
| 5. Consult Healthcare Professionals | Seek professional advice before starting therapy, especially if you have underlying skin conditions. |
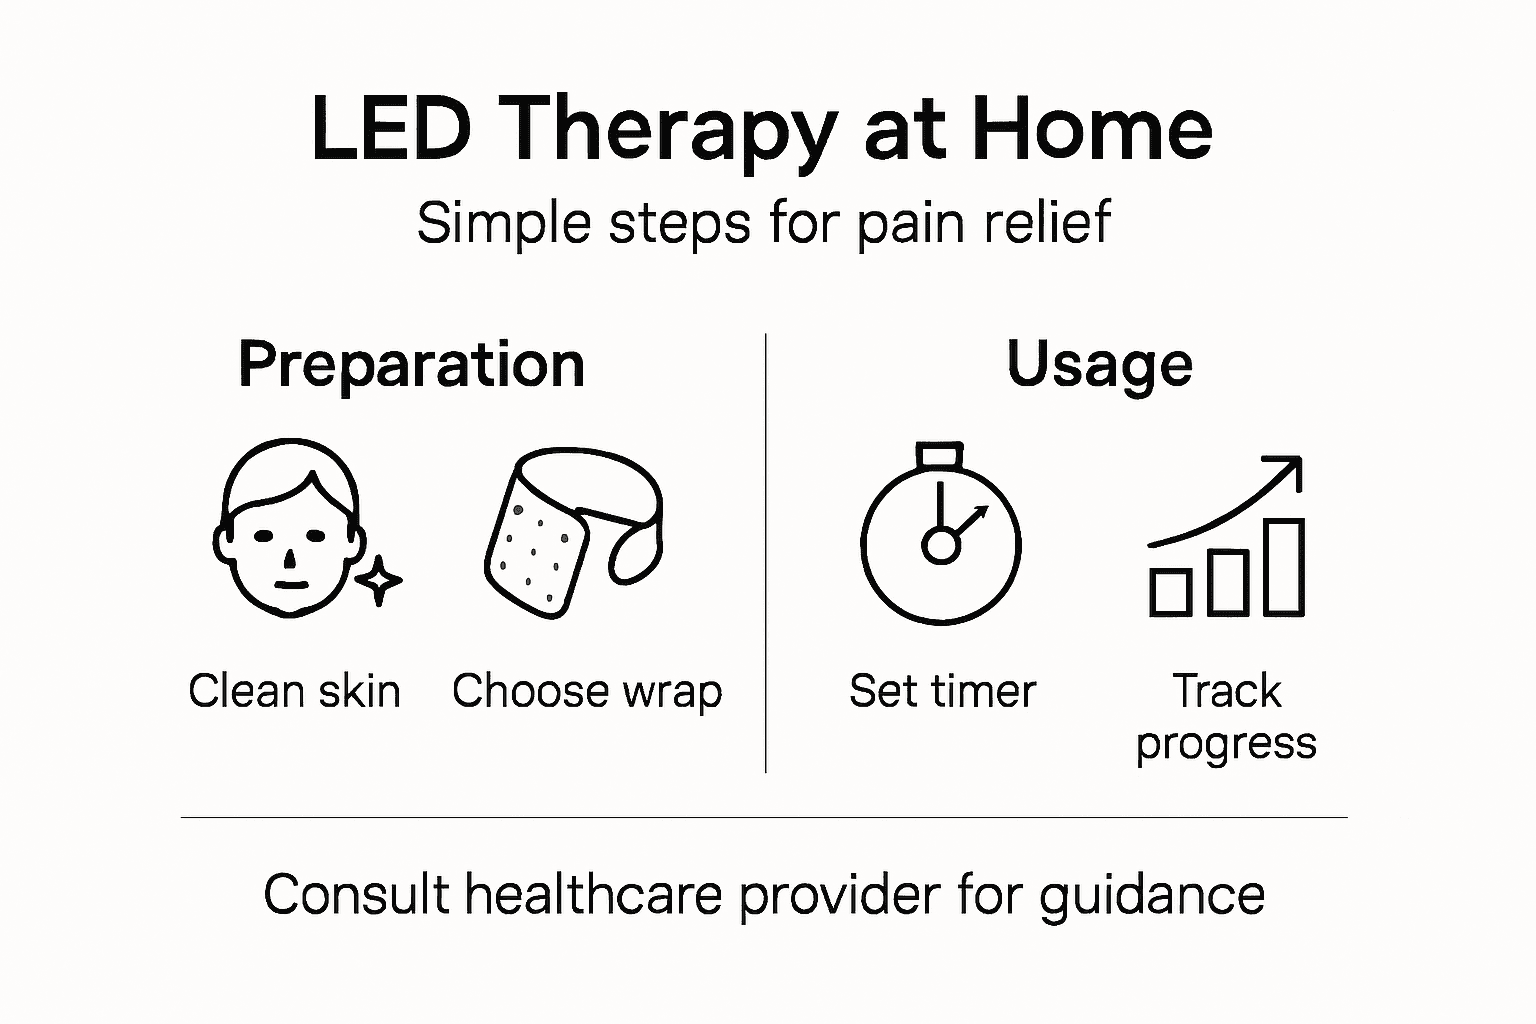
Step 1: Prepare Your LED Therapy Body Wrap Safely
Safely preparing your LED therapy body wrap is critical for maximising therapeutic benefits and ensuring optimal skin wellness. Before beginning your treatment, understanding proper device handling and preparation will help you achieve the most effective pain relief and recovery experience.
To get started, carefully inspect your LED light therapy device for any signs of damage or wear. Follow these essential preparation steps:
-
Check device cables and connections for integrity
-
Ensure the wrap fits comfortably around your body without excessive tightness
-
Verify the device’s wavelength settings match recommended therapeutic ranges
-
Clean the wrap’s surface with a soft, dry cloth before each use
Preparing your skin is equally important. Cleanse the treatment area thoroughly, removing any lotions, oils, or makeup that might interfere with light absorption. For individuals with sensitive skin, conduct a small patch test to ensure no adverse reactions occur.
Key Safety Considerations:
-
Maintain a consistent distance between the wrap and your skin
-
Follow manufacturer-recommended session durations
-
Monitor skin for any unusual reactions during treatment
Always consult with a healthcare professional before starting any new light therapy regimen, particularly if you have pre-existing skin conditions or chronic health concerns.
Pro tip: Keep a log of your treatment sessions, noting any changes in pain levels or skin condition to track your progress effectively.
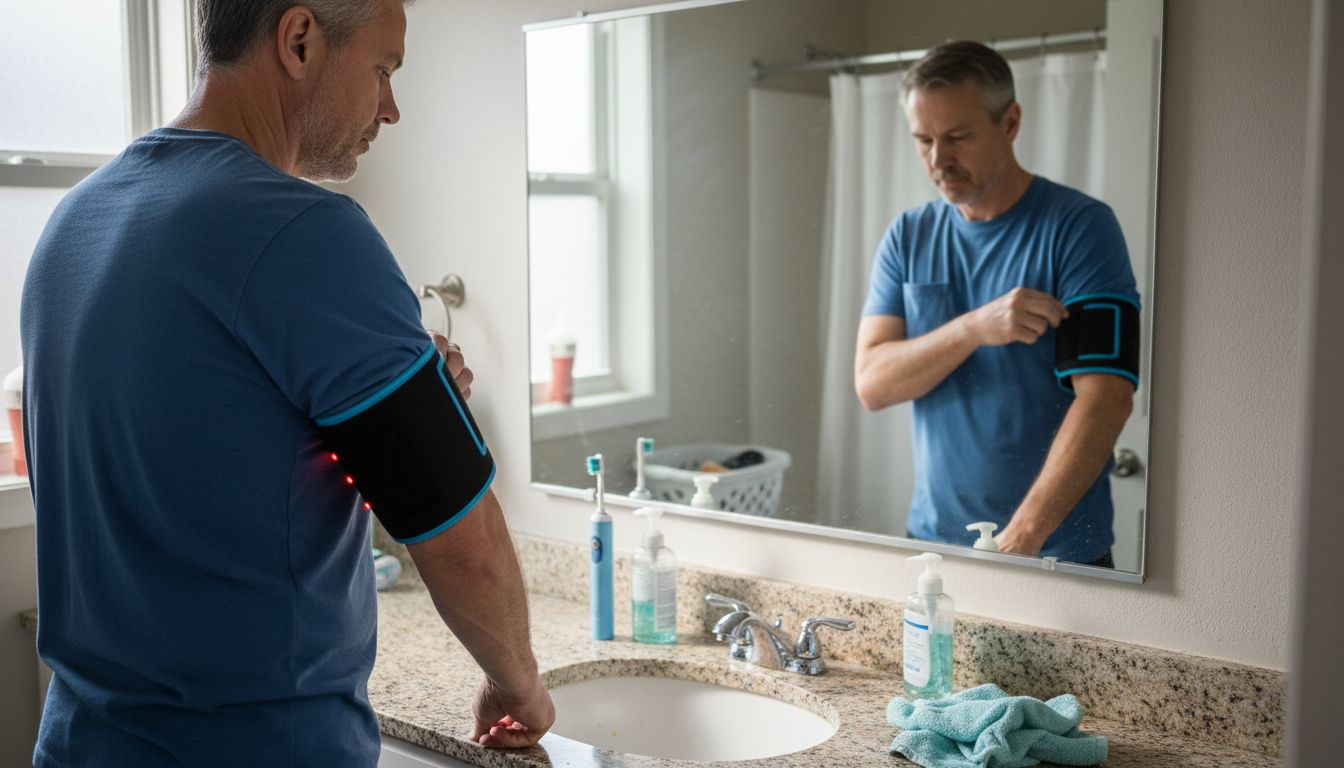
Step 2: Position the Device for Targeted Relief
Positioning your LED therapy body wrap correctly is crucial for achieving maximum therapeutic benefits and ensuring precise, targeted pain relief. Understanding how to align the device strategically will help you optimise your treatment and enhance your body’s natural healing processes.
When placing the wrap, focus on precise device positioning to maximise cellular penetration and effectiveness. Here are key guidelines for optimal device placement:
-
Identify the specific area requiring treatment
-
Centre the LED panels directly over the targeted region
-
Maintain a consistent distance between the device and your skin
-
Ensure even coverage across the entire treatment area
Different body regions may require slight adjustments in positioning. For muscle pain, wrap the device around the affected muscle group. For joint discomfort, align the wrap to provide direct, concentrated light exposure. Maintain a close but comfortable proximity to ensure wavelengths penetrate effectively without causing skin irritation.
Positioning Techniques:
Here is a quick reference comparing LED therapy body wrap usage for different body areas:
| Body Area | Typical Placement | Common Benefits |
| Lower back | Horizontal over lumbar | Reduced muscle tension |
| Shoulders | Wrapped over trapezius | Improved flexibility |
| Knees | Circumferential wrap | Increased joint mobility |
| Neck | Around cervical region | Pain relief, relaxation |
-
For lower back pain, position the wrap horizontally across the lumbar region
-
For shoulder tension, angle the wrap to cover the entire shoulder and upper trapezius muscle
-
For knee discomfort, wrap the device around the knee joint, ensuring full circumferential coverage
Consistent and precise positioning is essential for maximising the therapeutic potential of your LED light therapy treatment.
Pro tip: Use a mirror or ask a partner to help you position the wrap accurately, ensuring optimal light distribution and coverage.
Step 3: Customise Treatment Time and Frequency
Tailoring your LED therapy treatment duration and frequency is essential for achieving optimal healing and pain relief results. Your body’s unique needs and specific health conditions will guide your personalised therapy approach.
Understanding treatment protocol recommendations is crucial for maximising therapeutic benefits. The ideal treatment strategy depends on several individual factors:
-
Your specific pain or recovery condition
-
Current health status
-
Skin sensitivity
-
Device specifications
-
Treatment goals
Treatment Duration Guidelines:
-
Begin with shorter 10-15 minute sessions
-
Gradually increase to 20-30 minutes as your body adapts
-
Allow 24-48 hours between treatment sessions for cellular recovery
People experiencing chronic conditions might benefit from more frequent treatments, while those addressing acute issues may require less intensive protocols. Pay attention to your body’s response and adjust accordingly. Some individuals might need daily sessions, whereas others might see improvements with 2-3 weekly treatments.
Consistency and gradual progression are key to achieving effective LED therapy results.
Pro tip: Create a treatment journal to track your progress, noting session duration, frequency, and any changes in pain or healing.
Step 4: Monitor Progress and Adjust Usage
Successful LED therapy requires ongoing assessment and thoughtful adaptation of your treatment approach. Tracking your body’s response enables you to optimise your healing journey and achieve the most effective pain relief possible.
Understanding patient response variability is crucial for tailoring your treatment strategy. Monitor these key indicators of therapeutic progress:
-
Pain intensity levels
-
Range of motion
-
Sleep quality
-
Energy levels
-
Skin condition and healing
Tracking Methods:
Below is a summary of monitoring metrics and their significance during LED therapy:
| Monitoring Metric | What It Indicates | Why It Matters |
| Pain intensity | Effectiveness of treatment | Guides protocol adjustments |
| Range of motion | Physical improvement level | Tracks functional progress |
| Sleep quality | Overall well-being impact | Reflects systemic benefits |
| Skin appearance | Tissue healing and response | Detects adverse effects early |
-
Create a detailed treatment journal
-
Use a numeric pain scale for consistent assessment
-
Take periodic photographs to document physical changes
-
Note any subtle improvements in daily functioning
Adjustment Strategies:
-
If no improvement occurs after 4-6 weeks, consider consulting a healthcare professional
-
Reduce session duration if skin sensitivity develops
-
Increase treatment frequency for persistent chronic conditions
-
Maintain a flexible and responsive approach
Individual responses to LED therapy vary widely, making personalised monitoring essential for optimal results.
Pro tip: Schedule quarterly reviews of your treatment progress, using objective measurements to guide your ongoing LED therapy strategy.
Enhance Your Pain Relief Journey with Advanced LED Therapy Solutions
If you are ready to take control of your pain relief and recovery at home the detailed guidance from the Home LED Therapy Guide can be perfectly complemented by exploring specialised devices designed for targeted healing. Many people struggle with consistent device positioning and optimising treatment duration to fully benefit from LED therapy. Our range of PDT LED devices at Lumilux Limited offers clinically proven, CE-certified technology built to provide effective, safe, and customizable light therapy sessions that align with your unique needs.
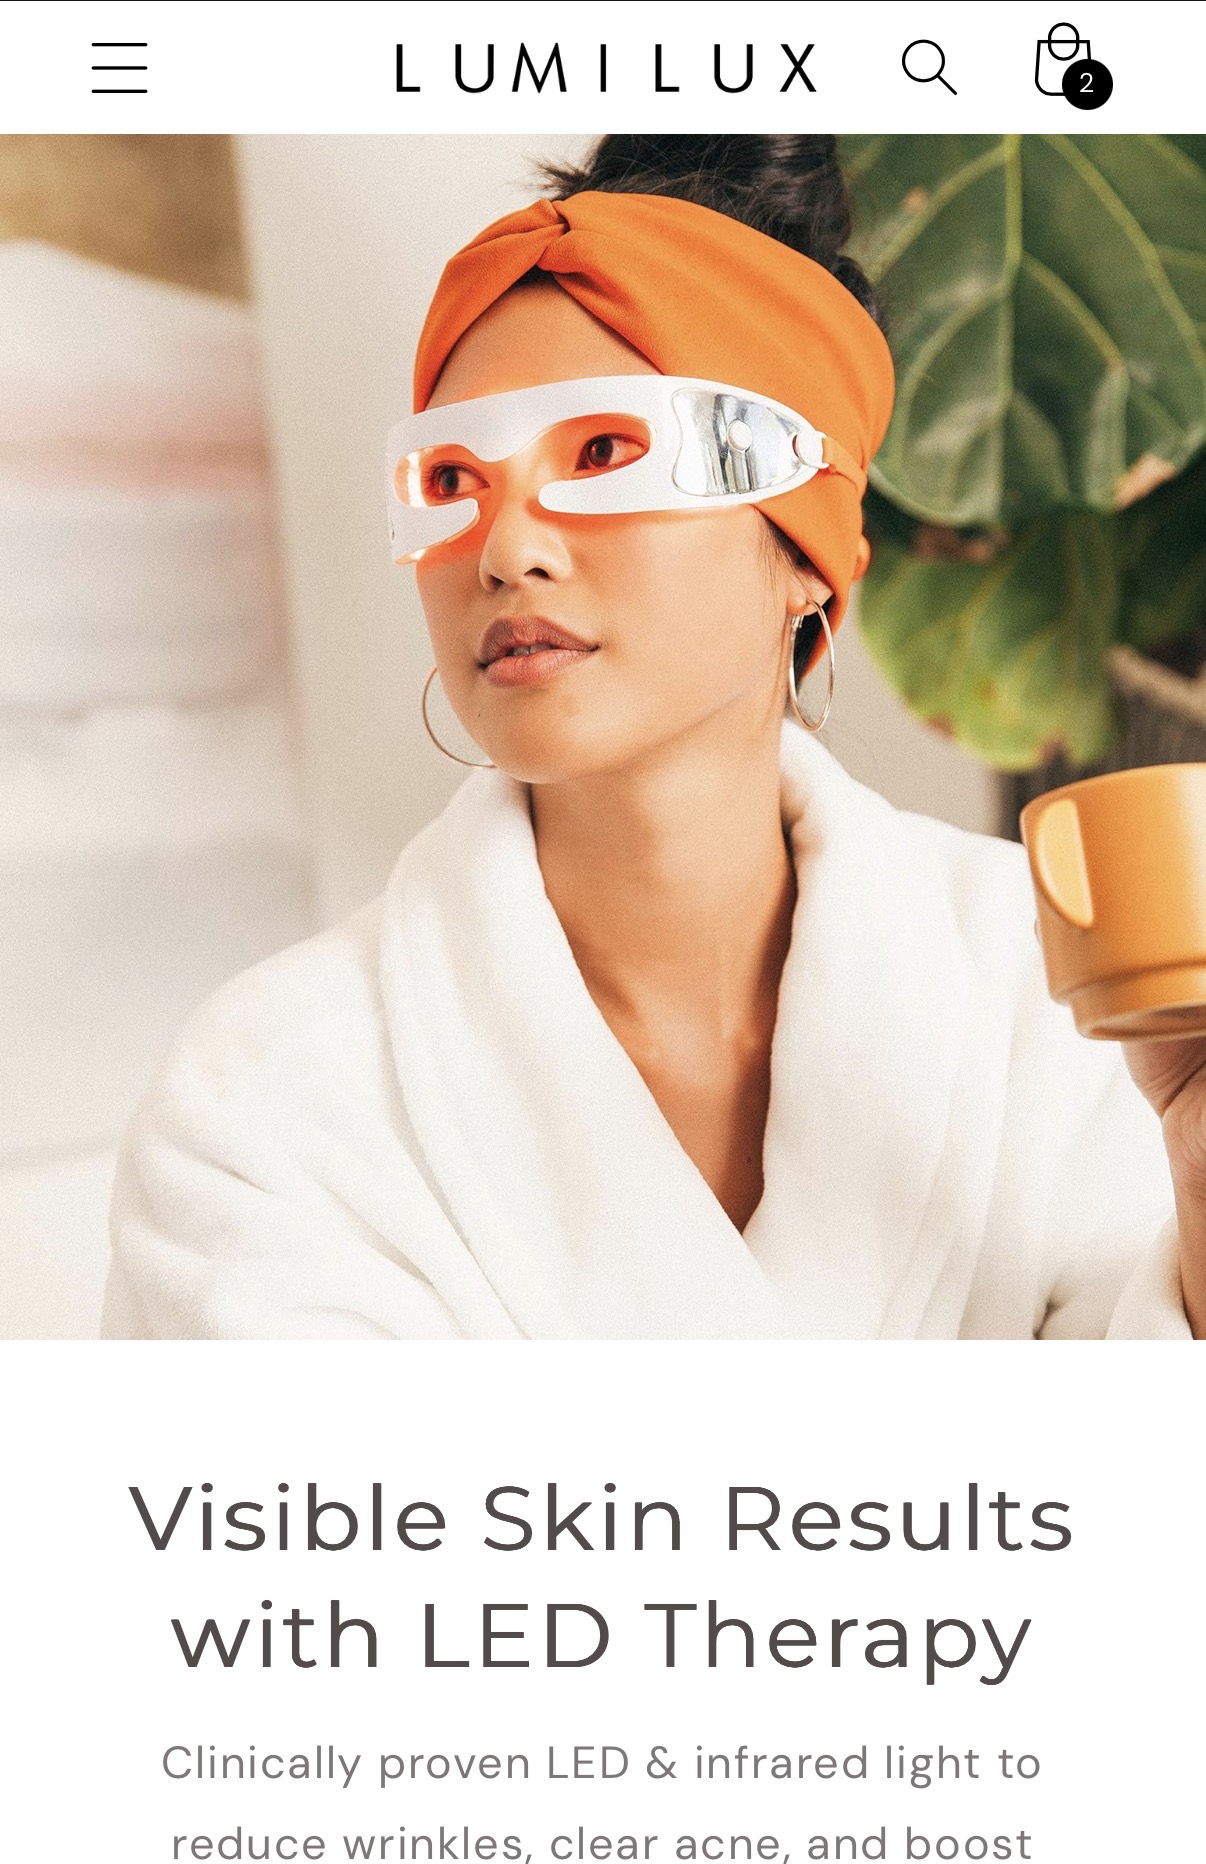
Discover how professional-grade LED therapy wraps and tools can make a tangible difference in pain management while fitting seamlessly into your daily wellness routine. Act now to experience visible improvements in skin and muscle recovery with expert-engineered devices backed by a satisfaction guarantee and free worldwide shipping at Lumilux Limited. Begin your personalised healing journey today by visiting our full selection including helpful solutions like massagers that enhance circulation and support the relief process.
Frequently Asked Questions
How do I prepare my skin for LED therapy at home?
To prepare your skin for LED therapy, cleanse the treatment area thoroughly to remove any lotions, oils, or makeup that could hinder light absorption. Always conduct a patch test on a small area if you have sensitive skin to avoid adverse reactions during your sessions.
What is the ideal distance between the LED therapy wrap and my skin?
Maintain a consistent distance of approximately 2 to 6 inches between the wrap and your skin during LED therapy. This ensures optimal light penetration while preventing any potential skin irritation.
How long should I use the LED therapy device during each session?
Start with shorter sessions of 10 to 15 minutes and gradually increase to 20 to 30 minutes as your body adapts. This careful approach allows your skin to acclimatise while maximising the therapeutic benefits over time.
How often should I use LED therapy for pain relief at home?
For acute issues, consider using LED therapy 2 to 3 times a week, while chronic conditions may benefit from daily sessions. Monitor your body’s response and adjust the frequency based on improvement or any signs of discomfort.
What signs should I monitor to assess my progress with LED therapy?
Pay attention to pain intensity levels, range of motion, and skin condition to gauge your progress. Keeping a treatment journal documenting these factors can help you track improvements and make necessary adjustments over time.
Can I use LED therapy if I have pre-existing skin conditions?
Always consult with a healthcare professional before starting LED therapy if you have pre-existing skin conditions. This ensures that your treatment approach is safe and tailored to your specific health needs.
Recommended
-
Understanding Light Therapy: A Global Guide to At-Home Light Therapy Benefits – Lumilux
-
Red Light Therapy for Pain: A Complete Guide to Relief and Healing – Lumilux
-
How LED Light Therapy Belts Can Relieve Pain and Promote Healing - – Lumilux
-
Struggling with Chronic Pain, Stiff Joints, or Muscle Soreness? Meet – Lumilux