

Master LED Light Therapy Workflow for Radiant Skin
Finding effective ways to achieve clearer, younger-looking skin at home can feel like a challenge, especially for women in Canada and the UK determined to prioritise self-care. Innovative LED light therapy offers targeted solutions for anti-ageing and acne, delivering unique benefits when the device and skin are properly prepared. This guide outlines practical steps, highlights the importance of thorough skin cleansing, and explains how to tailor LED treatment for visible results in your daily routine.
Table of Contents
- Step 1: Prepare LED Device And Skin
- Step 2: Select Appropriate Light Settings
- Step 3: Apply LED Therapy Safely
- Step 4: Evaluate Treatment Results
Quick Summary
| Key Point | Explanation |
|---|---|
| 1. Clean skin before treatment | Thoroughly cleanse your face to enhance light penetration and therapy effectiveness. Residual products can inhibit results. |
| 2. Use the correct light settings | Choose the appropriate light wavelength based on your specific skin concern to ensure maximum therapeutic benefit. |
| 3. Wear protective eyewear always | Always wear eye protection during sessions, even for safe wavelengths, to prevent retinal damage from direct light exposure. |
| 4. Track your skin’s progress | Regularly monitor changes in your skin’s appearance and reactions to adapt your LED therapy protocol effectively. |
| 5. Consult a dermatologist if needed | If uncertain about LED therapy or your skin’s response, seek professional guidance to tailor treatment to your individual needs. |
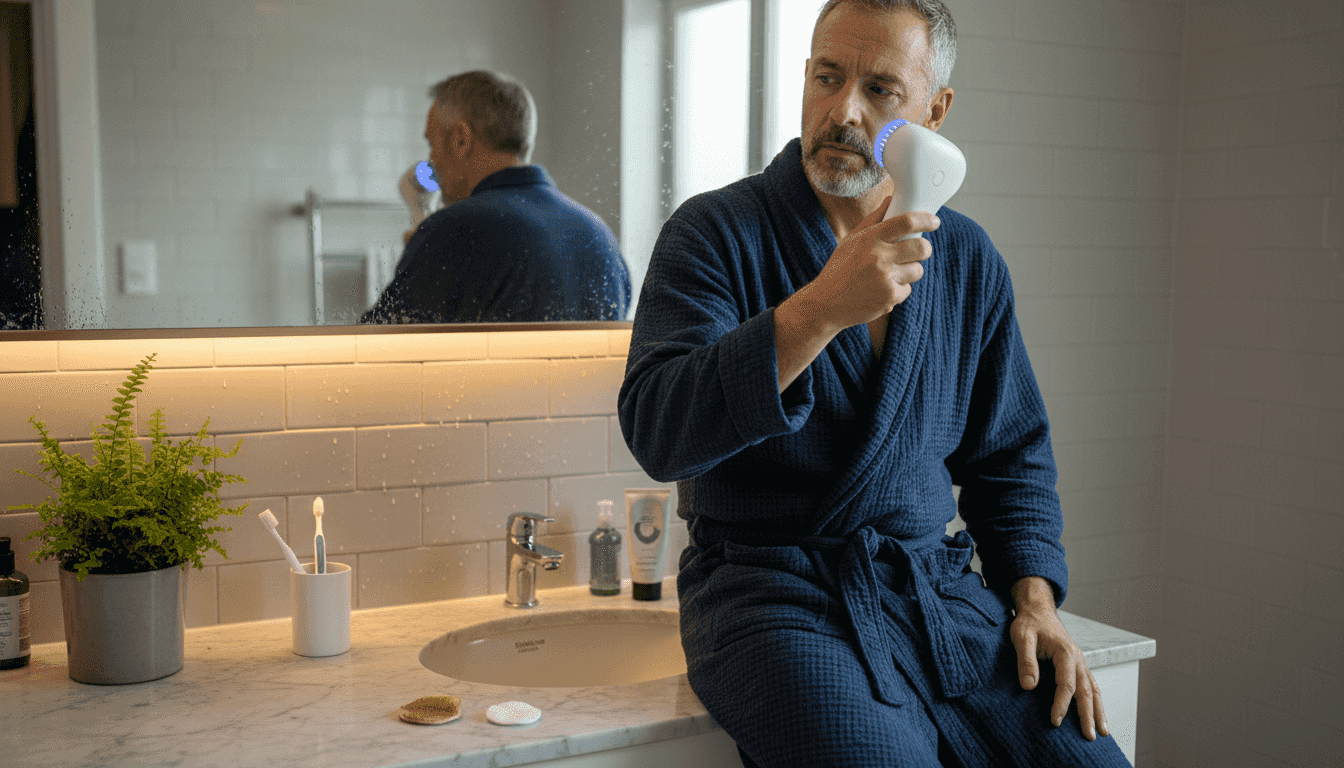
Step 1: Prepare LED Device and Skin
Getting your LED light therapy setup right from the start makes all the difference in achieving visible results. You’ll be preparing both your device and your skin so they work together effectively for the treatment ahead.
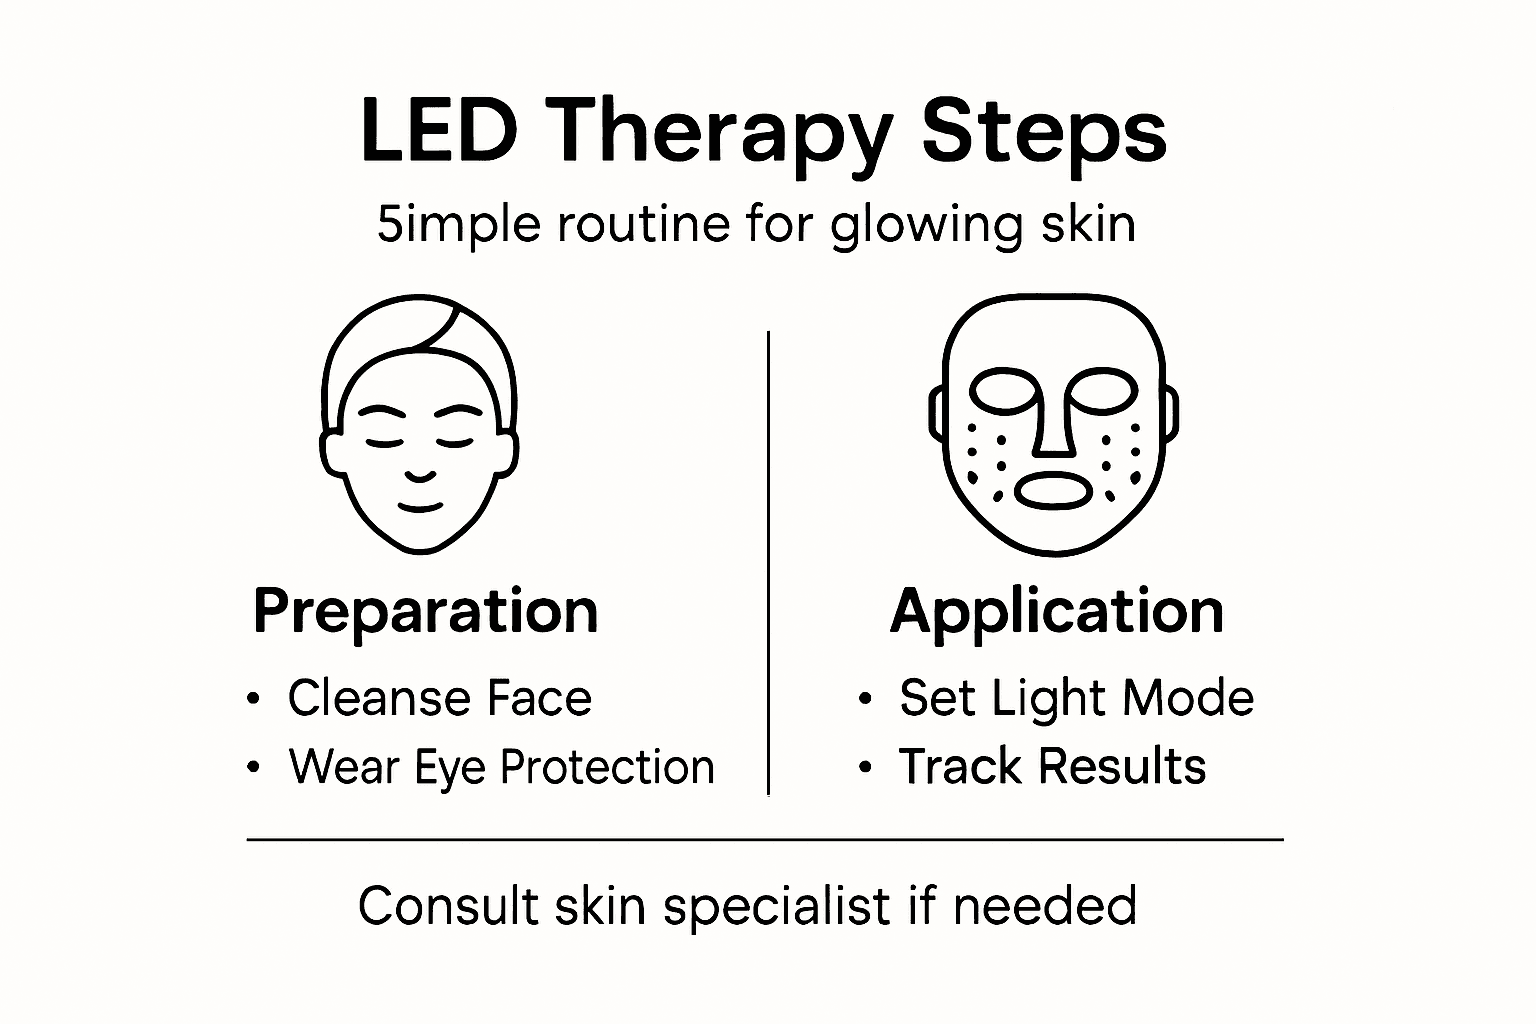
Start by cleaning your face thoroughly. Wash with a gentle cleanser and warm water, then pat your skin dry completely. Thorough skin cleansing removes makeup, oils, and impurities that can block light penetration. Any residual products act as a barrier between your skin and the beneficial light wavelengths, reducing the therapy’s effectiveness.
Clean skin ensures optimal light penetration and maximum therapeutic benefit from your LED device.
Once your skin is prepared, check your LED device settings. Consult your device manual to confirm you’re using the correct wavelength for your skin concern. Red light stimulates collagen production for anti-ageing, whilst blue light targets acne-causing bacteria. Different wavelengths penetrate to different skin depths, so matching the right light to your goal matters.
Here’s what to do before treatment:
- Charge your device fully or verify battery levels
- Review the recommended treatment duration for your skin type
- Ensure the device lens is clean and free from dust
- Gather any protective eyewear if your device requires it
- Choose a comfortable, well-lit space where you can relax
Wear protective eye gear during your session. LED light therapy requires eye protection to shield your eyes from direct light exposure, even though the wavelengths are considered safe. Most quality devices include eye protection or come with recommendations for appropriate eyewear.
If you have sensitive skin or specific skin conditions, consult a dermatologist before starting. They can confirm LED therapy suits your skin type and recommend optimal settings for your particular concerns.
Pro tip: Set up your LED routine in the evening after cleansing, allowing your skin to absorb benefits overnight without sun exposure interfering with the treatment.
Step 2: Select Appropriate Light Settings
Choosing the right light wavelength and intensity is crucial to your LED therapy success. Your skin concern determines which colour of light will work best, and understanding these differences ensures you get the results you’re after.
Start by identifying your primary skin goal. Are you treating acne, reducing wrinkles, or addressing inflammation? Each concern responds to different light wavelengths. Red light reduces inflammation and stimulates collagen production for anti-ageing benefits, whilst blue light targets acne-causing bacteria through its antibacterial properties. Infrared light penetrates deeper to promote tissue healing and overall skin renewal.
Match your light colour to your skin concern for maximum therapeutic effectiveness.
Once you’ve identified your concern, adjust your device settings accordingly. Most quality LED devices allow you to select specific wavelengths and intensity levels. Start with the recommended settings for beginners as outlined in your device manual, then progress based on how your skin responds.
Here’s a summary of how different LED light wavelengths benefit specific skin concerns:
| Light Colour | Primary Benefit | Best For |
|---|---|---|
| Red | Stimulates collagen, reduces inflammation | Wrinkles, anti-ageing |
| Blue | Attacks acne bacteria, soothes irritation | Active acne, oily skin |
| Amber | Calms sensitive skin, gentle renewal | Sensitive or redness-prone skin |
| Infrared | Deep healing, boosts skin repair | Overall renewal, wound recovery |
Here’s how to match light colours to common skin concerns:
- Red light for wrinkles, fine lines, and overall anti-ageing
- Blue light for active acne, oily skin, and bacterial breakouts
- Amber light for sensitive skin and gentle rejuvenation
- Combination modes for mixed concerns or general skin health
Adjust your treatment duration and frequency based on professional guidance. Most beginners start with 10 to 20 minutes per session, two to three times weekly. Your skin will tell you if you need to modify these settings. Some people see results within two weeks, whilst others require four to six weeks of consistent use.
Personalised light therapy plans work best. Consider consulting a dermatologist to confirm your chosen settings suit your specific skin type and concerns. They can recommend optimal intensity levels and session frequency to minimise any risks whilst maximising your visible benefits.
Pro tip: Keep a simple skin diary noting which light settings and durations produce the best results for your skin, allowing you to refine your routine over time.
Step 3: Apply LED Therapy Safely
Applying your LED device correctly protects your skin and maximises therapeutic benefits. Safety during treatment ensures you’ll enjoy consistent results without unwanted side effects or complications.
Wear your protective eyewear throughout the entire session. Eye protection prevents retinal damage from direct light exposure, particularly with blue and red wavelengths. Most devices include appropriate eyewear, or you can purchase CE-certified goggles designed for LED therapy. Never skip this step, even if sessions feel brief.
Consistent safety practices during treatment prevent complications and ensure long-term skin health.
Position your device at the correct distance from your face. Consult your device manual for the recommended distance, typically between 3 to 6 inches depending on the model. Holding the device too close may cause skin irritation, whilst positioning it too far reduces effectiveness.
Follow the recommended session duration for your specific device and skin type. Most beginners use 10 to 20 minutes per session. Never exceed the manufacturer’s guidance, as overexposure can lead to skin irritation or temporary redness. Control your skin exposure times carefully to avoid burns or damage.
Here’s what to monitor during treatment:
- Keep sessions within recommended timeframes
- Watch for any unusual skin reactions or discomfort
- Avoid moving the device too quickly across your face
- Stay still to ensure consistent light coverage
- Stop immediately if you experience pain or excessive heat
Check for contraindications before starting. Avoid LED therapy if you take photosensitising medications or have photosensitive conditions. If you’re uncertain, consult your GP or dermatologist beforehand. They can confirm whether LED therapy suits your current health status and any medications you’re taking.
After treatment, your skin may appear slightly flushed. This is normal and typically subsides within 30 minutes. If redness persists or you experience unusual side effects, discontinue use and seek medical advice.
Pro tip: Apply a gentle moisturiser immediately after your LED session to support your skin barrier and enhance the calming effects of the treatment.
Step 4: Evaluate Treatment Results
Tracking your skin’s response to LED therapy helps you understand what’s working and when to expect visible improvements. Regular evaluation ensures you’re on the right path towards radiant skin.
Start observing your skin within the first two to four weeks of consistent treatment. Clinical evaluations assess skin health changes through careful observation of improvements in fine lines, wrinkles, skin tone, and texture. Your own observations matter just as much as clinical assessments, so pay close attention to how your skin looks and feels.
Results develop gradually with consistent use, so patience and documentation matter more than expecting overnight transformation.
Take baseline photos before starting your LED therapy routine. Use the same lighting, camera angle, and time of day for consistency. Photos taken every two weeks provide clear visual evidence of subtle improvements that you might otherwise miss in daily observation.
Look for these common positive changes:
- Reduced appearance of fine lines and wrinkles
- Improved skin texture and smoothness
- More even skin tone and reduced redness
- Clearer complexion with fewer active breakouts
- Overall brighter, more radiant appearance
- Reduced inflammation or puffiness
Monitor your skin’s response carefully. Treatment results vary by individual based on skin type, age, and consistency of use. Some people see noticeable improvements within four weeks, whilst others require six to twelve weeks of regular sessions. Dermatologists customise ongoing treatment protocols based on individual response, so don’t compare your timeline to others.
This table contrasts typical reasons you may need to adjust LED therapy settings:
| Reason for Adjustment | Adjusted Setting | Potential Outcome |
|---|---|---|
| Skin feels irritated | Reduce session duration | Less redness, more comfort |
| No visible improvement | Increase frequency | Enhanced results after adjustment |
| Skin appears overly flushed | Lower light intensity | Minimises temporary discomfort |
| Results plateau | Change light wavelength | Tackles new or persistent issues |
Note any adverse reactions or lack of improvement. If you experience persistent irritation, unusual redness, or no visible benefits after eight weeks of consistent use, consider adjusting your light settings or consulting a dermatologist. They can modify your therapeutic approach based on your specific skin’s needs.
Pro tip: Keep a simple treatment journal recording your sessions, settings used, and observations about your skin’s appearance and feel, making it easier to identify patterns and optimal treatments for your individual skin.
Unlock Your Best Skin with Advanced LED Therapy Solutions
Mastering LED light therapy requires the right tools that deliver consistent, safe, and effective results for concerns like wrinkles, acne, and inflammation. If you are ready to elevate your skincare routine with clinically proven technology, explore PDT LED devices designed for targeted wavelength therapies. These devices help you tailor treatments precisely as outlined in the workflow, ensuring maximum collagen stimulation, bacterial control, and skin renewal.
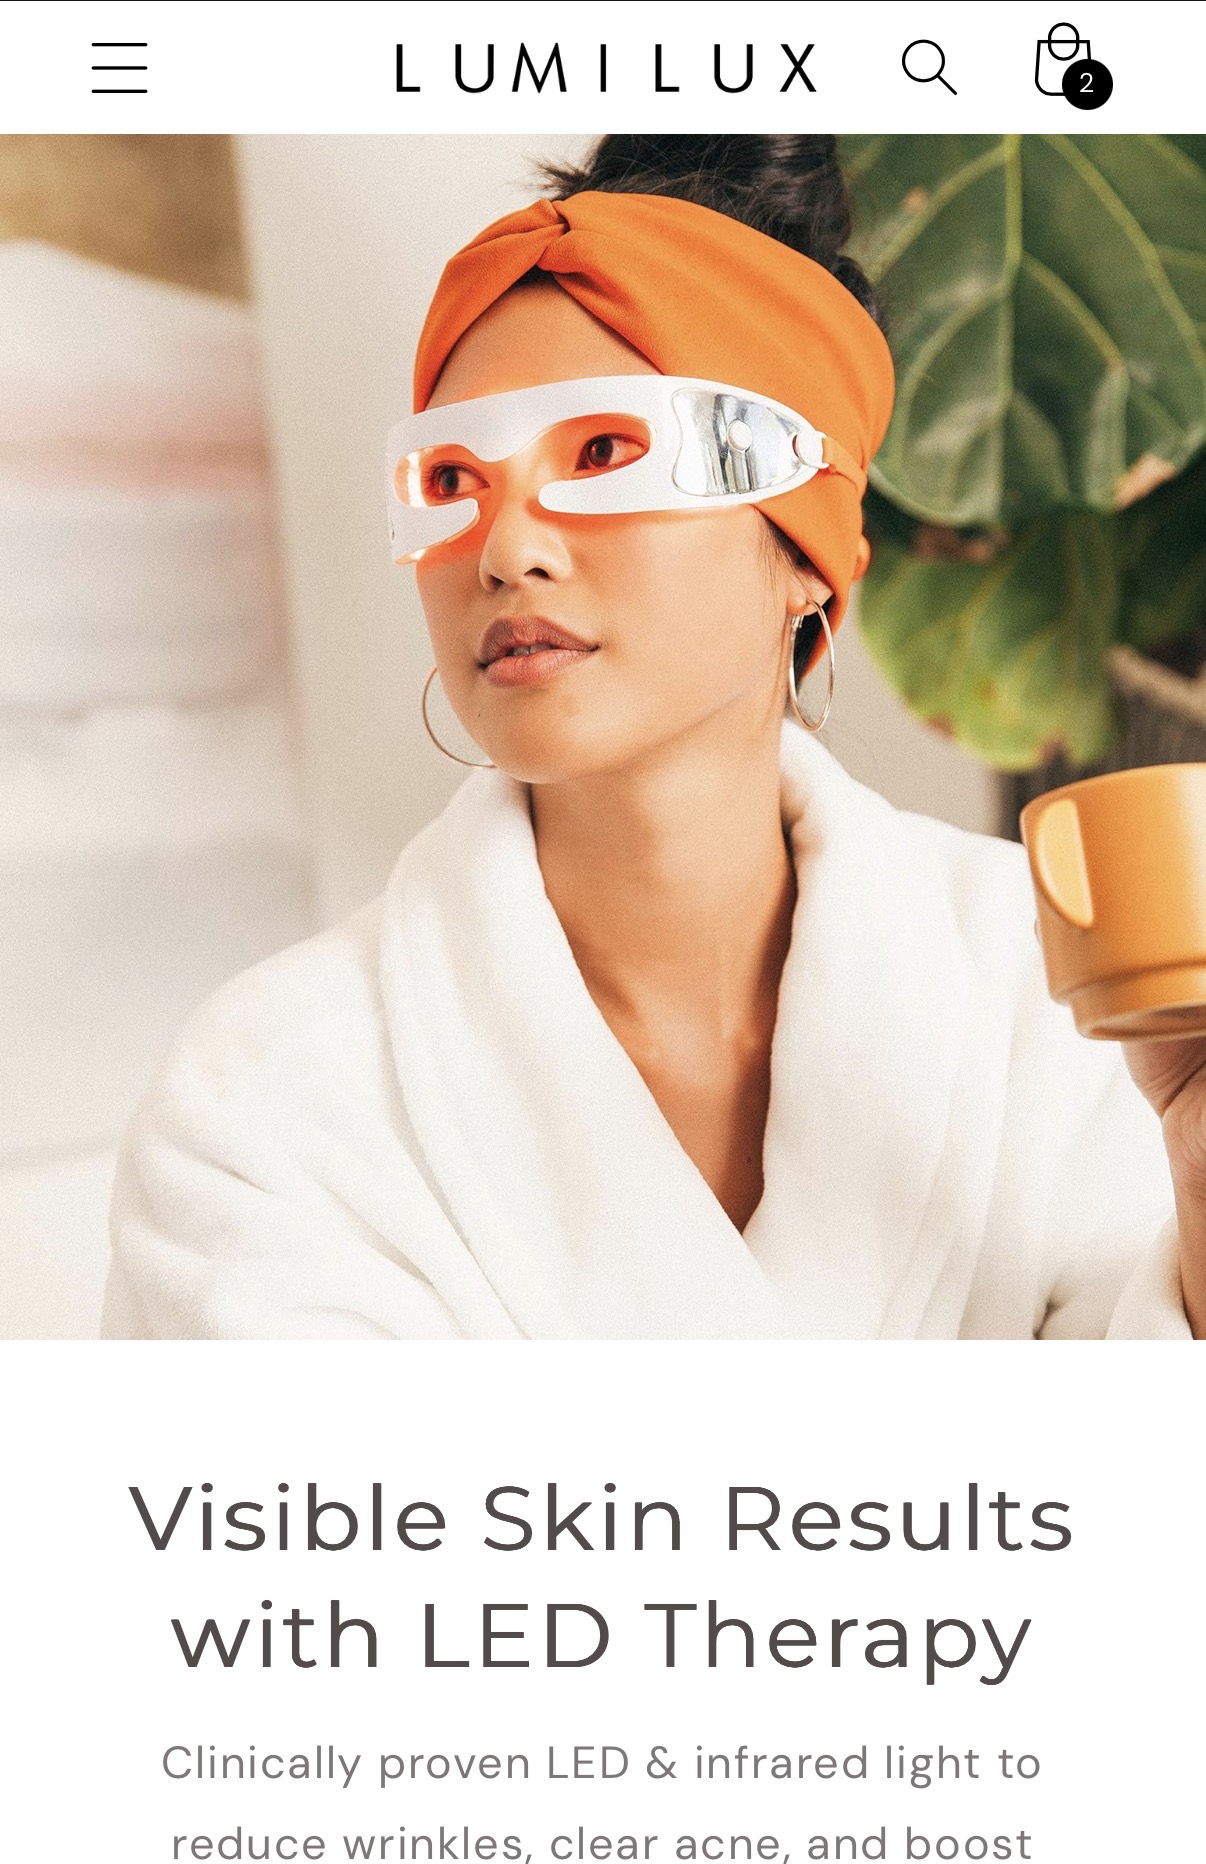
Experience dermatologist-inspired innovation and ease of use with our CE-certified products at Lumilux Limited. Take control of your skin health today by selecting from our range of professional LED masks and tools, backed by free worldwide shipping and a satisfaction guarantee. Begin your journey toward radiant skin now and see the visible improvements that consistent, safe LED therapy delivers.
Frequently Asked Questions
How should I prepare my skin before using LED light therapy?
Before using LED light therapy, clean your face thoroughly with a gentle cleanser and warm water. This step is essential for removing makeup, oils, and impurities that may block light penetration, ensuring maximum effectiveness for your treatment.
What are the recommended light settings for different skin concerns?
The recommended light settings depend on your specific skin concern. For instance, use red light for wrinkles and anti-ageing, blue light for active acne, amber light for sensitive skin, and infrared light for deep healing. Adjust the device settings based on these specific needs to achieve the best results.
How long should I use the LED device during each session?
Most beginners should start with sessions lasting 10 to 20 minutes, two to three times a week. Monitor your skin’s response and adjust the duration if necessary, ensuring you do not exceed the guidance provided by your device manual to avoid irritation.
What safety precautions should I take during LED light therapy?
Always wear protective eyewear during your LED therapy sessions to prevent eye damage from direct light exposure. Additionally, maintain the recommended distance from your skin, typically between 3 to 6 inches, to optimise treatment benefits while avoiding irritation.
How can I track my progress with LED light therapy?
Track your progress by taking baseline photos before starting treatment and capturing images every two weeks under the same lighting conditions. Record observations about changes in fine lines, skin tone, and texture to help you assess the effectiveness of your therapy over time.
What should I do if my skin reacts negatively to the LED treatment?
If your skin shows signs of irritation, such as persistent redness or discomfort, reduce the session duration or intensity of the light. If symptoms persist after adjustments, consult a dermatologist to discuss your treatment plan and ensure it suits your specific skin needs.