

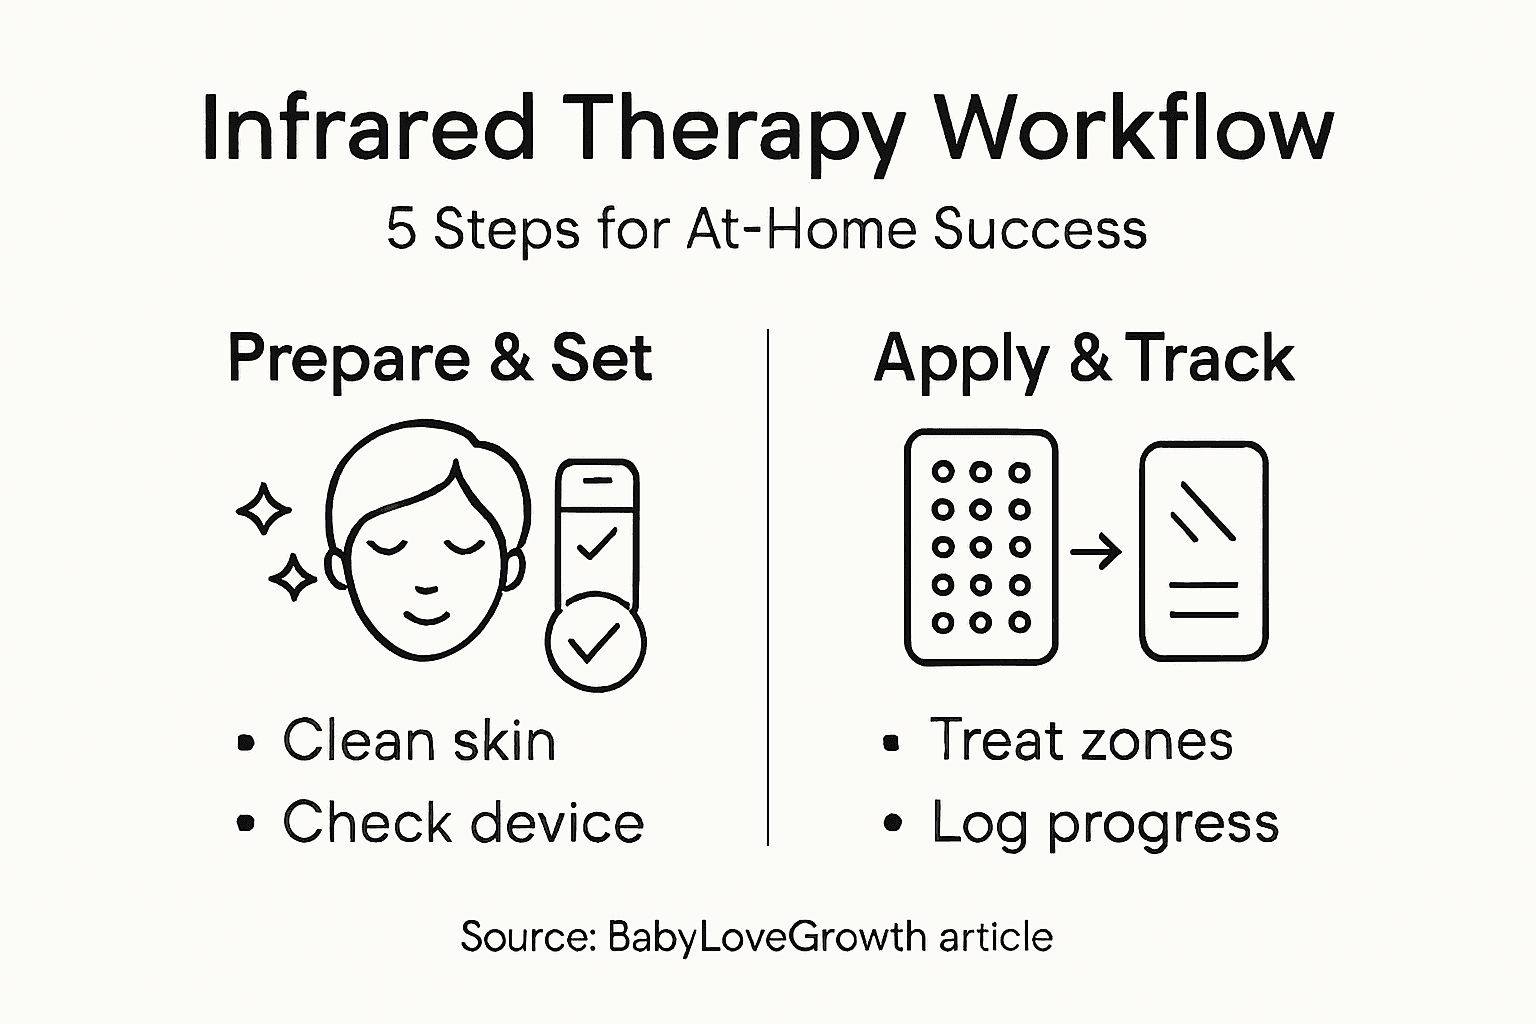
Infrared Therapy Workflow for Visible At-Home Results
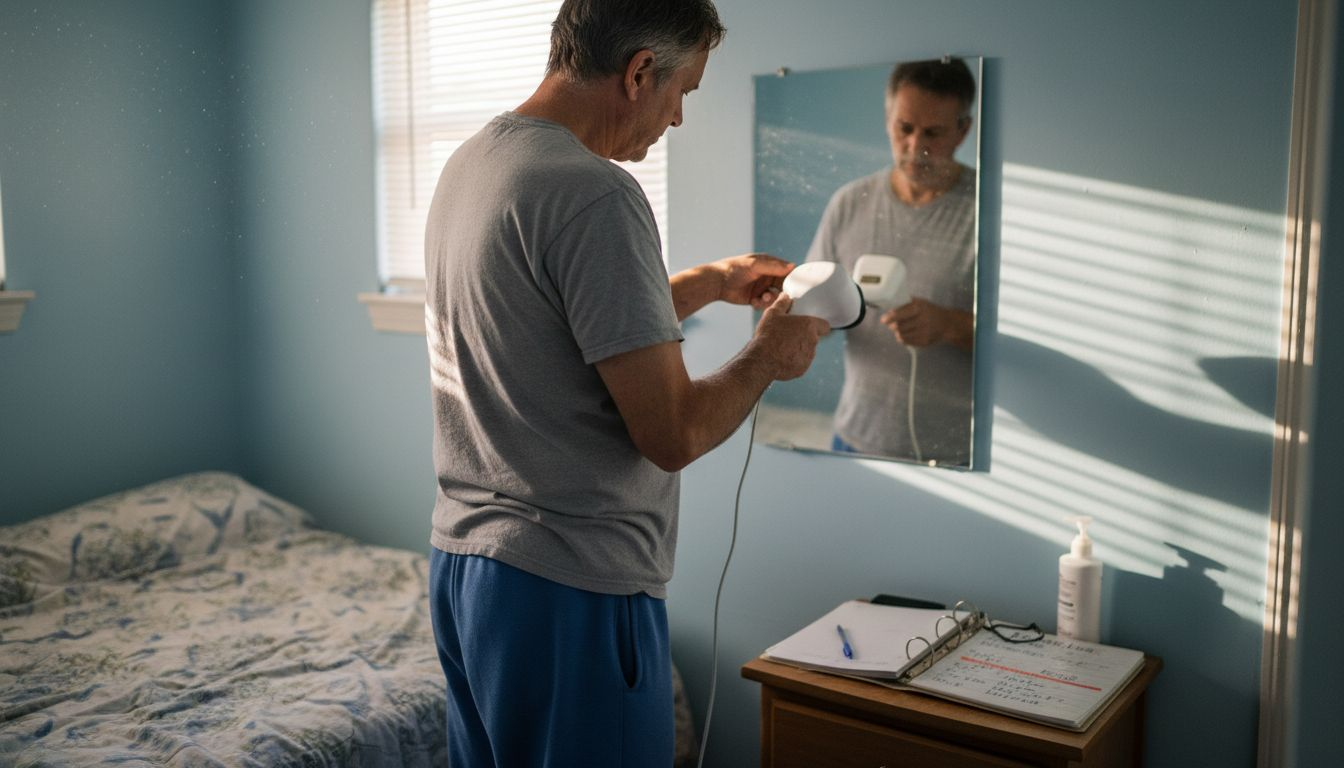
Starting an infrared therapy session at home is more than just switching on a device and hoping for results. The difference between subtle improvements and truly visible changes comes down to proper skin and device preparation. According to clinical research, the secret lies in clean, product-free skin and a calibrated device held at specific distances for optimal safety and effect. If you are ready to make your daily routine more effective for anti-aging and skincare, following these science-backed steps can help you achieve noticeable radiance right in your own space.
Table of Contents
- Step 1: Prepare Your Infrared Therapy Device And Skin
- Step 2: Set Optimal Intensity And Treatment Area
- Step 3: Apply Infrared Therapy With Guided Technique
- Step 4: Monitor Progress And Adjust Session Timing
- Step 5: Verify Results And Safely Clean Device
Quick Summary
| Key Insight | Explanation |
|---|---|
| 1. Clean Skin Enhances Results | Cleanse your face before infrared therapy to allow maximum light penetration, optimizing therapeutic effects. |
| 2. Start Low, Adjust Intensity | Begin at the lowest intensity setting to build skin tolerance gradually, increasing as needed based on your comfort. |
| 3. Consistency Over Intensity | Regular sessions are more effective than sporadic high-intensity treatments; aim for consistent frequency to see real improvements. |
| 4. Monitor and Adjust Treatment | Track your skin’s response; modify session duration or intensity if you notice stagnated results or irritation. |
| 5. Proper Device Maintenance | Regularly clean and inspect the device to ensure its longevity and effective performance during treatments. |
Step 1: Prepare your infrared therapy device and skin
Before you start your infrared therapy session, spending a few minutes on preparation makes the difference between adequate results and truly visible ones. Your device needs to be ready to work effectively, and your skin needs to be in the optimal condition to absorb the therapeutic wavelengths. Think of this step like tuning an instrument before a performance. Both the device and your skin need calibration for maximum benefit.
Start by thoroughly cleansing your face with a gentle cleanser, then pat your skin completely dry. You want clean skin free from lotions or barriers to maximize light penetration and allow the infrared energy to reach deeper layers where it does the real work. Skip any serums, oils, sunscreen, or moisturizers for now. These create a protective layer that actually blocks the therapeutic wavelengths from reaching the tissue that needs stimulation. The key is removing contaminants without disrupting your skin’s natural moisture balance. A simple water rinse followed by a soft towel works perfectly.
Now turn your attention to your device. Check that all components are functioning properly and that the device has been charged fully. Verify the wavelength settings match your skin type and concerns. If your device has distance indicators, familiarize yourself with them now. Research confirms that infrared exposure at prescribed distances, typically between 50cm to 70cm, without direct contact ensures both safety and therapeutic benefit. Hold the device at the correct angle before powering it on. Most devices work best when positioned perpendicular to your skin surface, not at an angle. Spend a moment reviewing your device manual if you’re unsure about settings or positioning.
This preparation stage is where infrared light therapy for skin rejuvenation begins to show its true potential. Clinical studies show that proper device calibration and skin preparation lead to collagen stimulation and measurable elasticity improvements. Your clean skin and properly positioned device are now ready to work together at the cellular level.
Pro tip: Set a timer for your entire session before starting, and test your device on your inner arm first if it’s your first time using it, to confirm the intensity feels comfortable and the positioning is correct.
Step 2: Set optimal intensity and treatment area
Now that your device and skin are prepped, you need to dial in the right intensity level and target the areas that will benefit most from treatment. Getting this right determines whether you see subtle improvements or dramatic visible results. Too low an intensity means wasted sessions. Too high, and you risk discomfort without gaining additional benefits. This is where precision matters.
Start by locating your device’s intensity controls. Most modern infrared therapy devices have adjustable settings ranging from low to high. Begin at the lowest setting, even if you’re tempted to jump straight to maximum power. Your skin needs time to adapt to the wavelengths, and starting conservatively allows you to build tolerance over successive sessions. Slowly increase the intensity over several treatments as your skin becomes accustomed to the therapy. Pay attention to how your skin responds. You should feel gentle warmth, not heat or burning sensations. The goal is therapeutic benefit, not thermal damage. Research on optimal intensity parameters for infrared radiation therapy shows that properly calibrated power density prevents injury while maximizing collagen stimulation and elasticity gains.
Next, identify your treatment areas. If you’re focusing on facial rejuvenation, your priority zones are typically the forehead, cheeks, and jawline. These areas show the most visible aging signs and respond well to infrared wavelengths. Some people also treat the neck and décolletage, which are often neglected but reveal age quickly. For targeted concerns like fine lines around the eyes, use a more controlled, lower intensity setting and keep the device at the proper distance. Avoid moving the device too rapidly across your skin. Instead, hold it steadily over each area for 10 to 15 seconds before moving to the next zone. This allows the infrared energy to penetrate effectively without creating hot spots.
The specific wavelengths matter too. Therapeutic wavelength ranges within 700 to 1400 nanometers with adjusted power densities ensure safety while delivering results. Most quality devices are already calibrated to these ranges, but checking your manual confirms you’re using the correct settings for your specific skin type. If you have sensitive skin, rosacea, or darker skin tones, you may need to use slightly lower intensities to avoid irritation. Light skin typically tolerates higher intensities without issue. Once you’ve mapped your treatment areas and settled on your intensity level, you’re ready to begin the actual therapy sessions. Consistency matters more than intensity over time. Regular treatments at moderate intensity beats occasional high-intensity sessions.
Pro tip: Keep a simple treatment log noting the intensity level you used and how your skin responded afterward, so you can gradually optimize your settings based on visible improvements rather than guessing what works best.
To help you select proper intensity and session intervals for infrared therapy, see this quick comparison:
| Skin Type or Condition | Recommended Intensity | Session Duration | Ideal Frequency |
|---|---|---|---|
| Sensitive skin/rosacea | Low | 10-15 minutes | Every 48-72 hours |
| Light/normal skin | Medium | 15-20 minutes | 3-5 times per week |
| Darker skin tones | Low to medium | 10-20 minutes | Every other day |
| Targeting fine lines | Low, targeted area | 10-15 minutes | 2-4 times per week |
| Overall rejuvenation | Medium, full face | 15-30 minutes | 3-5 times per week |
Step 3: Apply infrared therapy with guided technique
This is where the actual transformation begins. Now that your device is calibrated and your skin is clean, executing the correct technique determines whether you maximize therapeutic benefits or miss the opportunity for visible results. Proper application isn’t complicated, but it does require attention to positioning, timing, and consistency. Think of this as the difference between a casual workout and a focused training session. The same activity yields vastly different outcomes based on how intentionally you perform it.
Start by positioning your device perpendicular to your skin surface. This means the infrared emitter should face straight on to the area you are treating, not at an angle. Hold the device at the recommended distance, typically 50 to 70 centimeters from your face for facial treatments. This distance matters because it affects how the infrared wavelengths distribute across your skin. Too close and you risk concentration of heat in one area. Too far and the energy disperses too much to be effective. Begin with a 5 to 10 minute session if you are new to infrared therapy. Your body needs time to adapt to the wavelengths. As your skin becomes accustomed to the treatment over successive sessions, gradually extend to 15 to 20 minutes as your comfort level increases. Most people find their sweet spot somewhere between 15 and 30 minutes per session. Infrared light therapy guided technique emphasizes preparing skin, wearing protective eyewear when appropriate, and maintaining consistent device distance to ensure uniform coverage across your treatment area.
During your session, keep your body still and relaxed. Movement during treatment disrupts the uniform exposure your skin receives and reduces effectiveness. Focus on slow, deep breathing to keep your mind calm and your body steady. Avoid moving the device in rapid sweeping motions. Instead, hold it stationary over each area for several seconds, allowing the infrared energy to penetrate the tissue before moving to the adjacent zone. Pay close attention to how your skin feels. You should experience gentle warmth, not discomfort. If you feel any sharp sensations, burning, or excessive heat, immediately move the device further away or reduce the intensity. Your skin will provide feedback about what intensity level works best for you. Proper infrared therapy application timing and positioning recommends maintaining sessions for 20 to 30 minutes typically one to two times daily, while monitoring skin reactions and avoiding sensitive areas like the eyes. Always monitor your skin during and after treatment. Some mild redness immediately after a session is normal and typically fades within an hour. However, if you experience persistent irritation, swelling, or unusual reactions, reduce your frequency or intensity at your next session.
Consistency matters tremendously with infrared therapy. One or two sporadic sessions won’t produce visible results. You need regular, scheduled treatments over several weeks to see meaningful changes in skin texture, fine lines, and overall radiance. Most people benefit from treatments three to five times per week. Think of it like any worthwhile health practice. Daily dental care prevents cavities far better than occasional brushing. The same principle applies here. Set a regular schedule and stick to it, and you will absolutely see the visible improvements that attracted you to this therapy in the first place.
Pro tip: Create a dedicated treatment space in your home where you can relax for 15 to 30 minutes without interruptions, and schedule your sessions at the same time each day to build the consistency that transforms occasional use into real, measurable results.
Step 4: Monitor progress and adjust session timing
You have been consistent with your infrared therapy sessions for a few weeks now. But how do you know if what you are doing is actually working? Monitoring your progress and adjusting your session timing based on real results is what separates people who see dramatic transformations from those who plateau. This step requires honest observation and willingness to fine-tune your approach as your skin responds to the therapy.
Start by establishing baseline observations before you begin making adjustments. Take a close look at your skin in natural light, noting the appearance of fine lines, overall texture, firmness, and any specific concerns you targeted. Many people find it helpful to take a simple photo under consistent lighting conditions every two weeks. Your phone camera works perfectly for this. You are not looking for dramatic overnight changes. Infrared therapy produces gradual, cumulative results. After two to three weeks of consistent treatment at your current intensity and session duration, you should notice subtle improvements. Skin texture becomes smoother. Fine lines appear less pronounced. Your complexion looks brighter and more refreshed. If you are not seeing any changes after three weeks, your body may need adjustment. Some people respond better to slightly longer sessions or increased frequency. Others need to reduce intensity to allow their skin to tolerate the treatment better without irritation. Infrared therapy session timing and progression emphasizes assessing pain levels, skin changes, or improvements regularly while adjusting session timing and frequency to balance efficacy and safety, avoiding overexposure.
Pay close attention to how your skin feels during and after each session. Slight redness immediately after treatment is normal and shows the infrared energy is reaching your tissue. If redness persists for more than two hours or intensifies, you may need to reduce your session duration or intensity. Conversely, if you feel no warmth at all during treatment or see absolutely no response after sustained efforts, you might need to increase your session time incrementally. The biological response to infrared light depends significantly on timing between sessions. Treatment intervals between infrared light therapy sessions optimally spaced at 24, 48, or 96 hours apart maximize cell proliferation and minimize oxidative stress while preventing tissue damage. This means if you are treating daily, you may actually be overwhelming your skin without allowing proper recovery time between sessions. Consider spacing treatments to every other day if you are seeing irritation or diminishing returns.
After four to six weeks of consistent treatment, you should see meaningful visible improvements. Fine lines become noticeably softer. Skin firmness increases measurably. Discoloration fades. If you are seeing these results, maintain your current protocol. Do not feel pressured to increase intensity or duration if something is working. Consistency at an effective level beats constantly chasing intensity increases. If results plateau after eight weeks, this is the time to make adjustments. Extend your sessions by five minutes, or add one additional treatment per week. Small incremental changes allow you to identify what specific adjustment reignites progress without causing irritation. The goal is finding your personal sweet spot where results continue improving without negative side effects.
Document everything. Write down your session dates, durations, intensities, and any observations about your skin. Over time, patterns emerge. You might discover that your skin responds better to sessions in the morning or evening. You might notice that every other day produces better results than daily treatment. You might find that 20 minutes at medium intensity beats 30 minutes at low intensity. This individualized protocol adaptation is what transforms infrared therapy from a generic treatment into a personalized wellness practice tailored exactly to your body.
Pro tip: Take a consistent photo every two weeks in the same lighting and location to visually track subtle improvements your eyes might miss day to day, and adjust your session duration by just five minutes at a time rather than making drastic changes, which helps you identify exactly what works best for your skin.
Step 5: Verify results and safely clean device
You have completed your infrared therapy workflow over several weeks. Now comes the satisfying part: documenting the visible changes your skin has undergone and ensuring your device remains in perfect working condition for continued use. Verifying your results gives you concrete proof that your efforts are paying off, while proper device maintenance ensures you can rely on your equipment for months and years to come.
Start by examining your skin with the same objective eye you used at the beginning of your journey. Look in natural daylight, ideally near a window in the morning or late afternoon when light angles reveal texture and tone most clearly. Compare your current skin to photos you took weeks ago. The changes often surprise you because they happen so gradually you barely notice day to day. Fine lines around your eyes appear softer. Your forehead looks smoother. Overall skin tone looks more even and radiant. Texture feels noticeably smoother when you touch your face. If you have been tracking specific concerns like acne scars or hyperpigmentation, these areas should show measurable improvement. Infrared therapy result verification includes examining symptom improvement and skin changes through clinical examination. Document these observations in writing or photos. This record becomes your personal proof of efficacy and helps you understand exactly what infrared therapy accomplishes for your unique skin. Some results appear immediately after sessions end. Other improvements continue developing over weeks as collagen remodeling deepens within your skin layers. Patience here pays dividends because you are witnessing genuine biological transformation, not superficial cosmetic effects.
Once you have celebrated your results, turn your attention to device maintenance. Your infrared therapy device deserves proper care to ensure it performs optimally for years. Allow the device to cool completely after use before handling it for cleaning. Most devices have an emitter head that requires gentle care. Use a soft, lint-free cloth slightly dampened with water to wipe the emitter surface. Never use harsh chemicals, abrasive materials, or excessive moisture. Device cleaning protocols emphasize mild detergents while avoiding moisture penetration into electronic parts to prevent damage and contamination. Water droplets finding their way into electronic components can cause malfunction or create safety hazards. If your device has removable parts, consult your manual for specific cleaning instructions. Most devices also benefit from regular inspection of light sources and electrical components to catch any signs of wear before they become problems. Check cables for fraying or damage. Verify that the power cord remains securely connected and shows no signs of cracking or discoloration. These simple checks take just two minutes but extend your device lifespan significantly.
Store your device in a clean, dry location away from direct sunlight and extreme temperatures. A drawer, cabinet, or protective case works perfectly. Keep your manual and any included accessories organized nearby so you can reference instructions anytime. Some people keep a maintenance log similar to their treatment log, noting when they last cleaned the device and any observations about its performance. If you notice any decline in warmth output, unusual sounds, or visible damage, stop using the device and contact the manufacturer before continuing treatment. Proper maintenance transforms your infrared therapy device into a reliable wellness tool rather than a piece of equipment that degrades with time. Your device has helped you achieve visible improvements in your skin. Caring for it ensures those improvements continue accumulating session after session, month after month. This final step closes the loop on responsible, sustainable infrared therapy practice.
Pro tip: Set a monthly device maintenance reminder on your phone and perform a quick visual inspection plus gentle cleaning every 30 days, which takes under five minutes but ensures your device performs at peak efficiency for years of continued skin transformation.
Here’s an at-a-glance summary of recommended device care practices for lasting performance:
| Maintenance Task | Frequency | Why It’s Important | Potential Issue Avoided |
|---|---|---|---|
| Wipe emitter surface | After each session | Removes oils, keeps light clear | Reduced effectiveness |
| Inspect cables/components | Monthly | Identifies wear or damage | Short circuits, malfunction |
| Store device properly | Always | Prevents dust and overheating | Device degradation |
| Gentle cleaning only | Monthly | Protects electronics | Safety and damage risk |
Unlock Visible Skin Transformation with Expert Infrared Therapy Devices
Achieving consistent, visible results with at-home infrared therapy requires precise calibration, proper intensity, and regular treatment sessions. If you have been following steps to cleanse your skin, adjust therapy settings, and monitor progress but want a trusted device engineered for optimum performance look no further. Our expertly designed PDT LED devices offer clinically proven infrared and LED light technology tailored to your unique skin needs. These devices are carefully calibrated for safe, effective wavelengths that stimulate collagen and restore skin elasticity — just as outlined in your infrared therapy routine.

Take control of your skincare journey today by choosing advanced technology that aligns perfectly with your at-home infrared therapy workflow. Visit Lumilux Limited now to explore a range of dermatologist-inspired solutions including massagers and IPL tools designed to complement your regimen. Experience the confidence of professional-grade skincare in the comfort of your home with free worldwide shipping available. Start your path to radiant, rejuvenated skin by shopping the PDT LED collection and make every infrared session count.
Frequently Asked Questions
What are the steps to prepare my skin for infrared therapy?
Start by thoroughly cleansing your face with a gentle cleanser and patting your skin dry. Remove any lotions, oils, or barriers that could block the infrared light from penetrating effectively.
How do I choose the right intensity level for my infrared therapy device?
Begin with the lowest intensity setting and gradually increase it over several sessions as your skin becomes accustomed to the therapy. This will help you avoid irritation while optimizing therapeutic benefits.
How long should each infrared therapy session last?
If you are new to infrared therapy, start with 5 to 10 minutes and gradually extend to 15 to 20 minutes as you get more comfortable. Most people find that consistent treatments of 15 to 30 minutes yield the best results over time.
How often should I use infrared therapy for visible results?
Aim for three to five sessions per week for optimal skin rejuvenation effects. Regular use, rather than sporadic treatments, allows your skin to benefit from cumulative therapeutic effects.
What signs should I monitor to evaluate the effectiveness of infrared therapy?
Pay attention to changes in your skin’s texture, firmness, and the appearance of fine lines after about two to three weeks of consistent treatment. Taking photos in consistent lighting can help you document subtle improvements more clearly.
How do I ensure my infrared therapy device remains in good working condition?
Clean the emitter surface after each session using a soft, damp cloth, and inspect cables or components monthly for any signs of wear. Proper maintenance will extend the lifespan of your device and ensure peak performance over time.