

How to Master the LED Hair Therapy Process for Hair Growth
Finding the right approach to hair loss can feel frustrating when every solution promises results but few actually deliver lasting change. For many health-focused adults, at-home LED hair therapy devices offer a promising way to support scalp health and stimulate new growth—if used correctly. By combining thorough scalp preparation and consistent device setup with regular, well-timed sessions, you can create the ideal conditions to encourage stronger, healthier hair directly from home.
Table of Contents
- Step 1: Prepare Your Scalp And Device For Therapy
- Step 2: Set Up The LED Hair Therapy Device Correctly
- Step 3: Apply The LED Treatment According To Guidelines
- Step 4: Monitor And Adjust Therapy For Optimal Results
- Step 5: Verify Improvements And Maintain Your Routine
Quick Summary
| Key Point | Explanation |
|---|---|
| 1. Prepare your scalp thoroughly | Clean and exfoliate your scalp before therapy to enhance light absorption and device effectiveness. |
| 2. Set up the LED device correctly | Ensure optimal device placement for effective treatment; follow the manufacturer’s guidelines for distance and power settings. |
| 3. Maintain a consistent routine | Regular therapy sessions, ideally three to five times a week, are crucial for achieving and maintaining results. |
| 4. Monitor your progress regularly | Document changes over time with photos and notes to assess treatment effectiveness and make necessary adjustments. |
| 5. Shift to a maintenance routine | After achieving desired results, reduce session frequency to maintain improvements, similar to a workout regimen. |
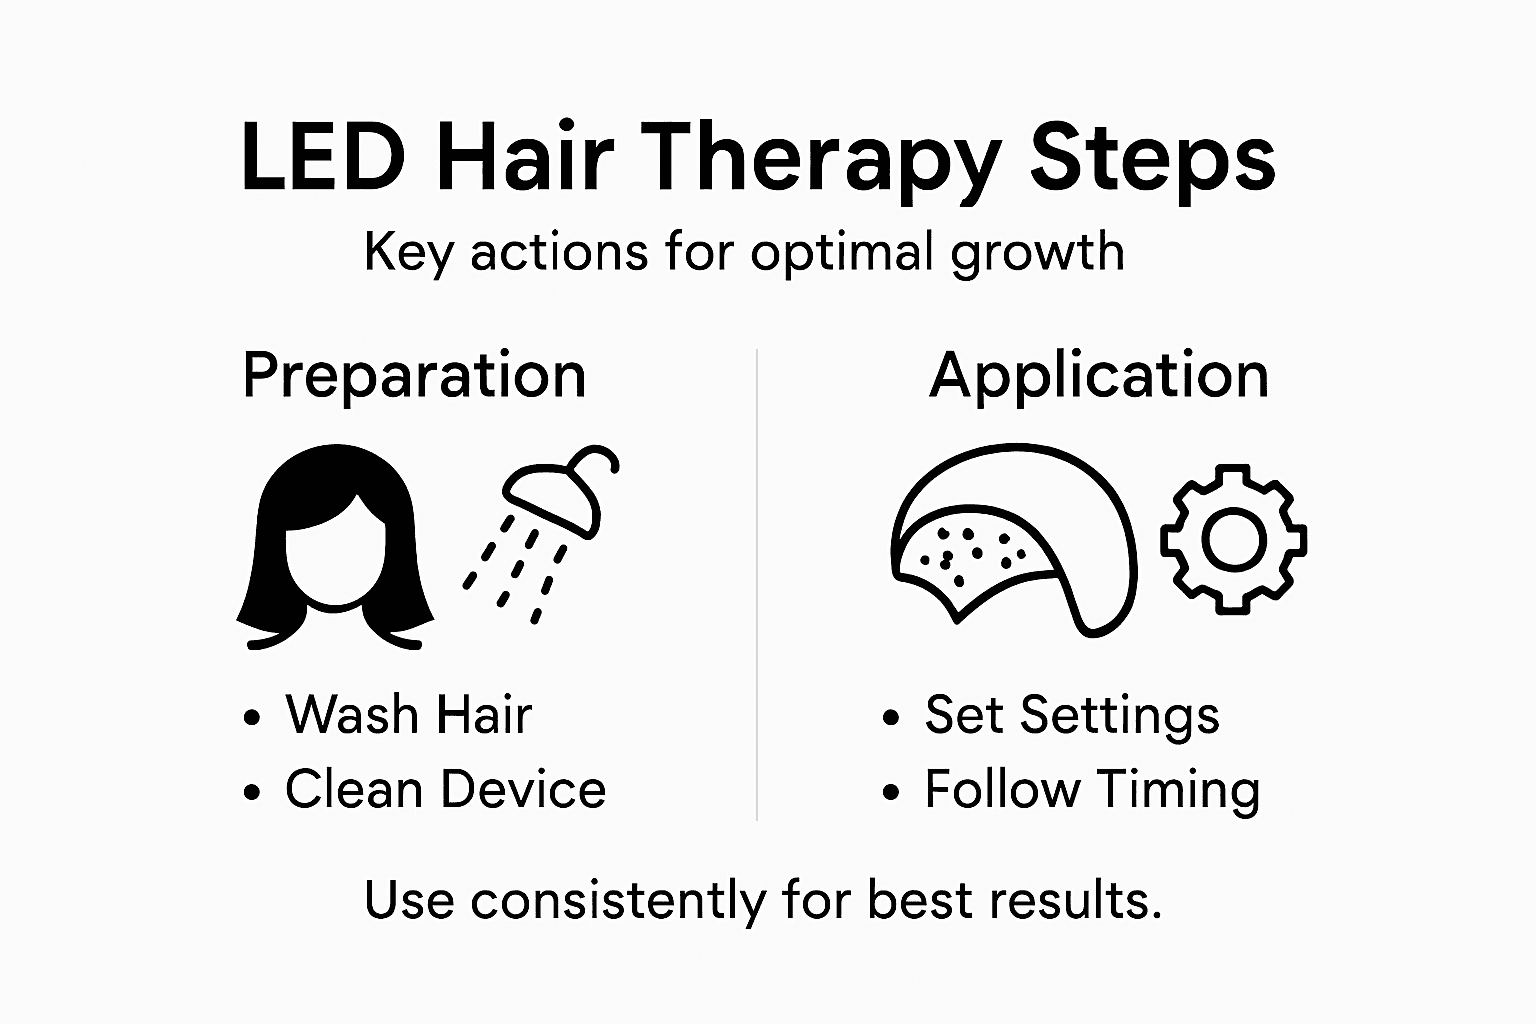
Step 1: Prepare Your Scalp and Device for Therapy
Your scalp is about to receive focused light therapy, which means it needs to be in the best possible condition to absorb that treatment. This step takes about 10 to 15 minutes but makes an enormous difference in how effectively your hair follicles respond to LED therapy. Think of preparation like preparing soil before planting seeds—the better the foundation, the better the growth.
Start by washing your hair with a gentle shampoo and lukewarm water to remove daily buildup, oils, and any product residue. This is where most people skip ahead, but it matters. Residual conditioner, dry shampoo, styling products, and natural scalp oils create a barrier between your skin and the LED light. After shampooing, consider using a scalp exfoliator to break up buildup that regular washing might miss—flakes, sebum accumulation, and dead skin cells all reduce your device’s effectiveness. Rinse thoroughly with cool water to close your hair cuticles and calm the scalp. Pat your scalp dry with a clean towel, leaving it slightly damp rather than soaking wet. Moisture on the scalp can interfere with the device’s contact and light penetration.
Now prepare your device. Check the LED mask, brush, or wand for any dust, hair, or debris on the light-emitting surface. A quick wipe with a soft, dry cloth is all you need. Verify your device is fully charged or plugged in—you’ll want uninterrupted therapy sessions without power dropping mid-treatment. If your device has different light settings (red, blue, infrared, or combinations), review which setting targets your specific concern before you start. Some devices offer preset modes for hair growth, which simplifies things. When your scalp is clean, exfoliated, and your device is ready, you’re positioned for maximum absorption of the therapeutic light wavelengths your follicles need to activate.
Here’s a comparison of LED light settings and their benefits for scalp therapy:
| Light Setting | Main Benefit | Target Concern |
|---|---|---|
| Red Light | Stimulates hair growth | Hair thinning |
| Blue Light | Reduces scalp inflammation | Oily scalp, acne |
| Infrared | Improves blood circulation | Weak follicles |
| Combination Mode | Multi-benefit approach | Overall scalp health |
Pro tip: Always exfoliate your scalp before your first LED therapy session and once weekly during your treatment cycle to remove dead skin that blocks light penetration and reduces device effectiveness.
Step 2: Set Up the LED Hair Therapy Device Correctly
Proper setup is the difference between a device that delivers results and one that sits unused in your drawer. Your LED hair therapy device needs to be positioned, powered, and calibrated correctly so that the therapeutic light reaches your scalp at the right wavelength and intensity. This step takes just a few minutes but sets the stage for everything that follows.
Start by reviewing your device’s instruction manual, especially the sections on placement and power settings. Different devices have different optimal distances from your scalp, so this matters more than you might think. Most LED hair devices work best when positioned about half an inch to one inch away from your skin, though some are designed to sit directly on the scalp. Place your device over the area you want to target, whether that’s your crown, hairline, or entire scalp. If you’re treating multiple areas, you’ll need to move the device systematically so the light covers everything. The red and near-infrared wavelengths most effective for hair growth require consistent coverage to stimulate your follicles evenly. Set the power level according to your device’s recommendations. Most hair growth devices start at a moderate setting, and you can increase intensity gradually as your scalp adapts. Check that your device is fully charged before each session and note how long your therapy should last. Clinical recommendations typically range from five to fifteen minutes, depending on your device’s strength and your specific situation.
Before you power on, make sure you’re treating the right area with the right coverage. Some users make the mistake of holding the device at an angle or too far away, which reduces effectiveness significantly. Position it so it makes proper contact or sits at the recommended distance, and keep it steady throughout your session. Avoid pointing the device at your eyes, and if you have any concerns about intensity, start conservatively. Your scalp will benefit from consistent, properly executed sessions far more than from occasional overexposure. Once everything is set up correctly, you’re ready to begin your therapy with confidence that the light is actually reaching your hair follicles the way it should.
Pro tip: Mark the treatment areas on your scalp using a temporary marker before your first session so you can ensure consistent, full-scalp coverage with every use.
Step 3: Apply the LED Treatment According to Guidelines
Now comes the actual therapy. This is where consistency matters most. Your LED device will only work if you use it regularly and correctly, following the specific guidelines that match your device’s power output and your hair growth goals. Think of it like exercise for your scalp—one session helps, but a structured routine transforms results.
Start each session on a clean, dry scalp with no styling products, oils, or treatments blocking the light. Position your device exactly as you did during setup, and power it on to your chosen intensity level. Most hair growth devices require sessions lasting 10 to 20 minutes depending on device specifications, though some newer models work in shorter bursts of five to ten minutes. Keep the device steady and in contact with (or at the recommended distance from) your scalp throughout the entire session. Avoid moving it around too much, as consistency in coverage matters. If your device has multiple settings, stick with the same one for at least two to four weeks before adjusting intensity. This allows your scalp cells to adapt and respond optimally to the light wavelengths. The LED light causes no heat or pain, so you should feel completely comfortable during treatment. Use this time to relax, check email, or do something else productive. When the session timer ends, power down your device and wait a few minutes before styling your hair if needed.
Frequency is everything with LED therapy. Regular use multiple times per week is essential to maximize benefits, and skipping sessions significantly reduces effectiveness. Most users see better results with three to five sessions weekly rather than sporadic weekly treatments. Mark your calendar or set phone reminders during your first month to build the habit. Consistency over intensity always wins with light therapy. Keep a simple log of your sessions, including the date, duration, and which scalp areas you treated. This helps you stay accountable and also gives you a record to review when evaluating your progress after eight to twelve weeks of treatment.
Pro tip: Schedule your LED therapy sessions at the same time each day, ideally in the morning or evening routine, so it becomes automatic rather than something you have to remember.
Step 4: Monitor and Adjust Therapy for Optimal Results
You are now three to four weeks into your LED hair therapy routine. This is when monitoring becomes critical. Your scalp responds to light therapy gradually, and small adjustments along the way can mean the difference between mediocre results and truly transformative ones. The key is tracking what’s working and what needs tweaking before you waste another month on a suboptimal approach.
Start by taking baseline photos of your scalp and hairline under consistent lighting before your first therapy session. Repeat these photos every four weeks at the same time of day and under the same lighting conditions. You will not notice daily changes, but comparison photos from month to month reveal what your eyes miss otherwise. Beyond photos, pay attention to how your scalp feels. Does it feel healthier? Less itchy? More energized? These sensory cues matter. Also track hair that falls out during washing or brushing. Initially you may see no change, but after six to eight weeks, most people using LED therapy notice either less shedding or new growth starting to emerge. Document your observations in a simple spreadsheet or note app. Include the date, which scalp areas you treated, session duration, device intensity level, and any observations about hair density or scalp condition. This log becomes invaluable when you need to evaluate whether your current approach is working.
After eight weeks of consistent therapy, evaluate your results honestly. If you are seeing positive changes in hair density, thickness, or reduced shedding, maintain your current protocol exactly as is. If you notice a plateau or no improvement at all, adjustments to treatment frequency or device settings may be required. You might increase sessions from three per week to five per week, or bump up the intensity level one notch if your device allows it. If you experience any adverse reactions such as scalp irritation, burning sensations, or unusual itching, reduce intensity immediately and consider consulting a dermatologist. Continuously evaluating hair regrowth outcomes and scalp health helps ensure safe and effective use alongside any other treatments you may be using. Small tweaks based on your actual results beat sticking stubbornly to a one-size-fits-all approach.
Pro tip: Take progress photos at the exact same time and location every four weeks, wearing your hair in the same style, to get accurate visual comparisons that reveal subtle improvements you might otherwise miss.
Step 5: Verify Improvements and Maintain Your Routine
At the twelve-week mark, you have real data. You have photos, you have observations, and you have a clear picture of whether LED therapy is working for you. This is the verification stage where you confirm that your investment of time and effort is delivering actual results. But verification is only half the battle. What comes next is equally important: maintaining the routine that got you here, because stopping now would undo your progress.
Compare your current photos side by side with your baseline photos from week one. Look for increases in hair density, new growth along your hairline, or overall thicker appearance in treated areas. Pay attention to texture as well as quantity. Many people report that their remaining hair feels stronger and more resilient after twelve weeks of consistent LED therapy. Beyond visual assessment, notice how your scalp feels. Is it healthier? Less prone to irritation or flaking? Visual assessment of hair thickness and scalp health over time confirms improvement that might feel subtle day to day but becomes obvious when you review the progression. If you are seeing positive changes, celebrate that. You have successfully mastered the LED hair therapy process. If you see modest improvements and were hoping for more dramatic results, remember that hair growth is a slow process and twelve weeks may just be the beginning. Some people see their most significant gains between months three and six. If you see no improvement at all, this may not be the right treatment for you, and consulting with a dermatologist would be worth your time.
Here is the critical part that most people miss: maintenance. Continued use of red light therapy devices is necessary to maintain hair regrowth, and interrupting therapy can lead to loss of benefits. This does not mean you have to use LED therapy forever in the exact same way. You can reduce frequency slightly after reaching your goals, perhaps dropping from five sessions weekly to three. But stopping entirely will cause your hair to slowly return to its previous state over several months. Think of it like fitness. You do not have to maintain the same intense training schedule forever, but you cannot abandon exercise completely and expect to keep your results. Your new routine becomes part of your regular hair care regimen, like shampooing and conditioning. Schedule your sessions consistently, track them in your calendar, and make them as automatic as brushing your teeth. Your hair will thank you.
This table summarizes typical results and suggested adjustments by therapy milestone:
| Timeframe | Expected Results | Suggested Adjustment |
|---|---|---|
| 4 Weeks | Minimal visual change | Continue current routine |
| 8 Weeks | Reduced shedding, early growth | Increase frequency or intensity if needed |
| 12 Weeks | Noticeable density/thickness | Shift to maintenance schedule |
| 3-6 Months | Peak growth and improvement | Maintain or consult dermatologist if no change |
Pro tip: After reaching your improvement goals, reduce to a maintenance schedule of two to three sessions per week rather than stopping completely, which preserves your results while requiring less time investment.
Unlock Your Best Hair Growth with Advanced LED Therapy
Mastering the LED hair therapy process is about more than just consistency. It involves understanding how precise device setup, proper scalp preparation, and diligent monitoring lead to real results. If you are struggling with hair thinning or want to reduce shedding, investing in the right tools makes all the difference. With clinically proven, CE-certified devices, you can seamlessly incorporate expert-inspired LED therapy into your routine at home.
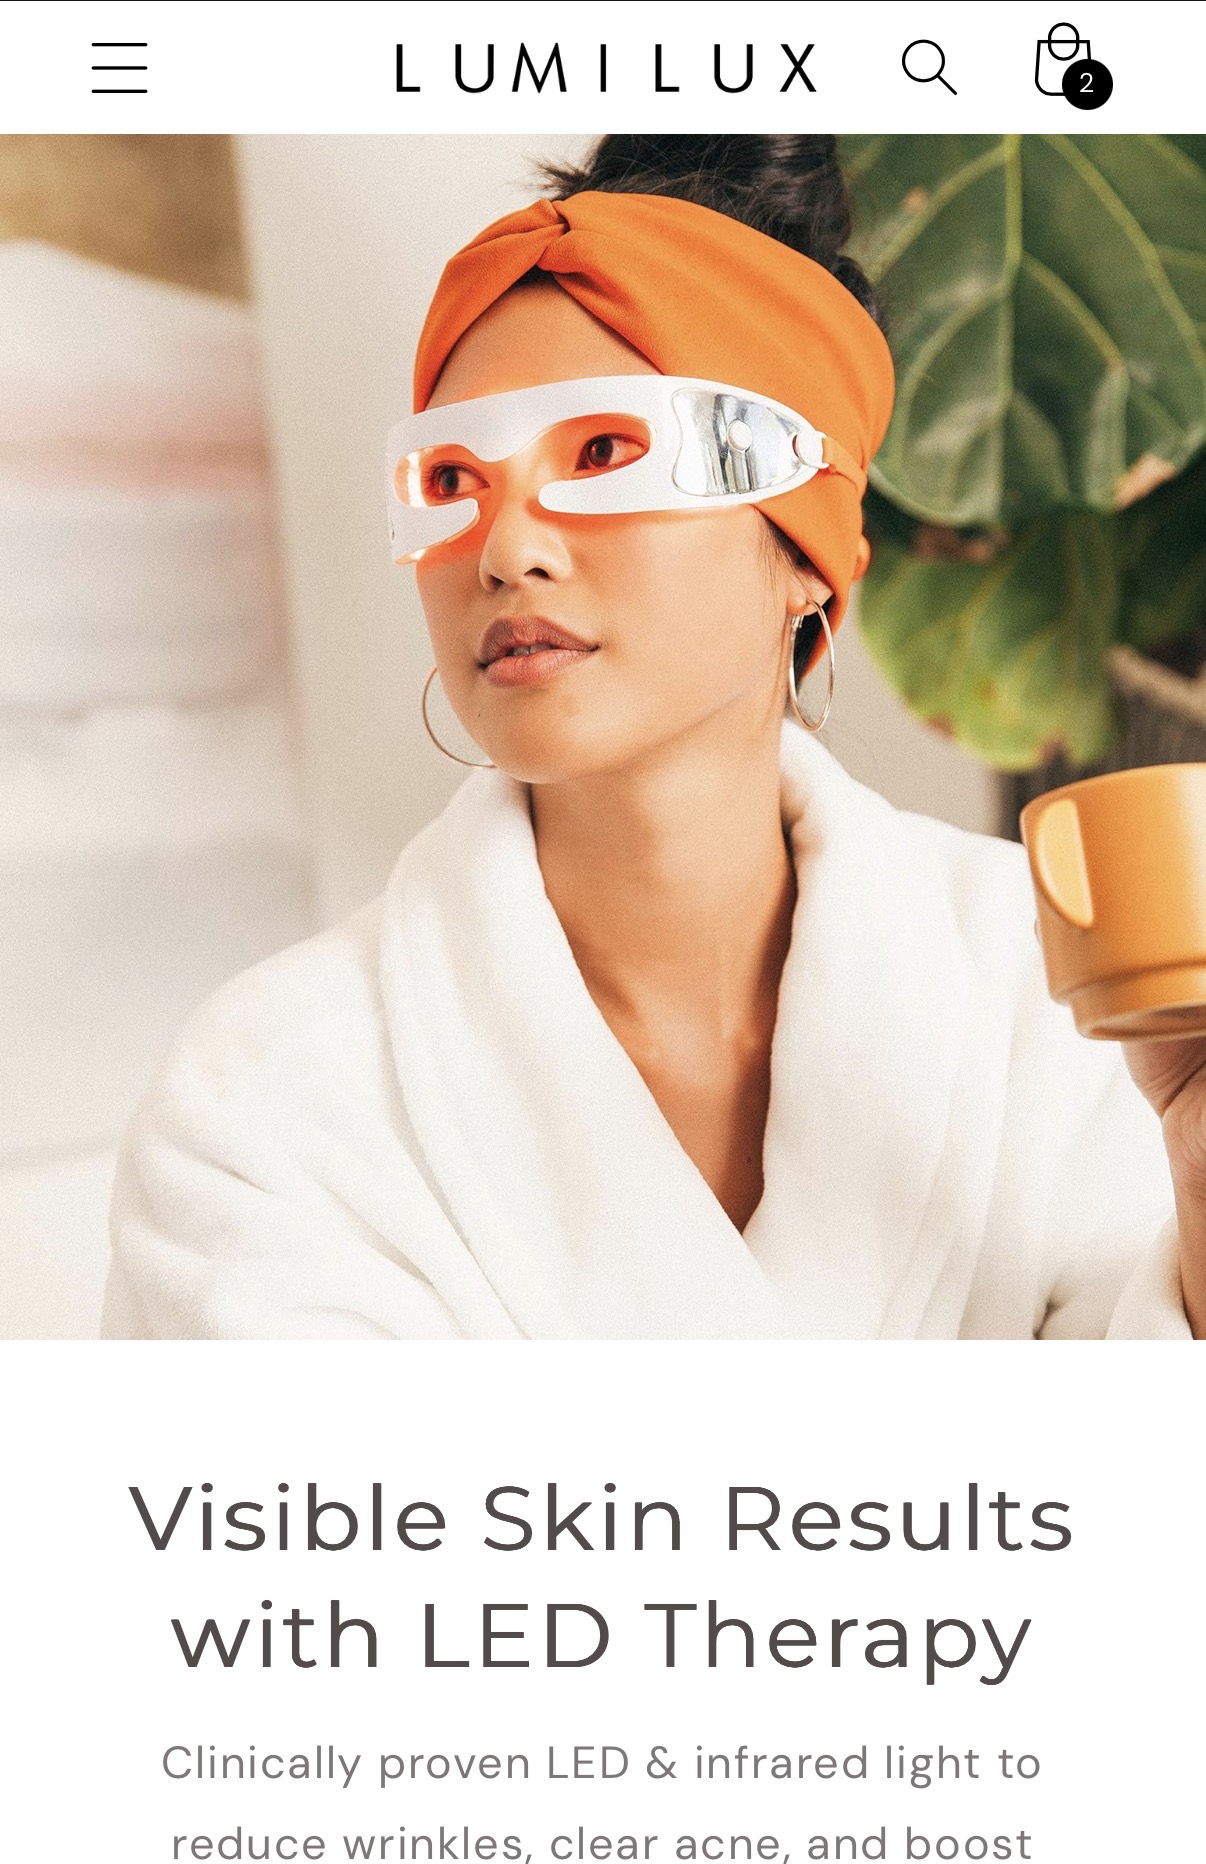
Explore our cutting-edge selection of PDT LED devices designed specifically to deliver the effective wavelengths and optimized light intensity needed to stimulate hair follicles safely and comfortably. Complement your sessions with our range of Massagers that boost scalp circulation and enhance absorption of light therapy benefits. Start your journey to thicker, healthier hair now by visiting Lumilux Limited, where innovation meets proven results. Take control of your hair health today and see a visible difference within weeks.
Frequently Asked Questions
How do I prepare my scalp for LED hair therapy?
To prepare your scalp, wash your hair with a gentle shampoo and lukewarm water to remove oils and product buildup. Follow this by using a scalp exfoliator to eliminate any residual flakes and dead skin cells, ensuring optimal light penetration during therapy sessions.
What should I do if I’m not seeing results from LED hair therapy?
If you’re not seeing results after eight weeks, consider adjusting your therapy frequency or device intensity. For example, if you’re currently using it three times a week, increase to five times a week to boost effectiveness and enhance hair growth.
How long should each LED hair therapy session last?
Each session should typically last between 10 to 20 minutes, depending on your specific device and treatment goals. Start with the recommended duration and adjust as needed based on your comfort and device specifications.
How can I monitor the effectiveness of my LED hair therapy?
You can monitor effectiveness by taking baseline photos of your scalp before starting therapy and comparing them monthly. Document any changes in hair density, texture, or scalp health to track progress over time.
What adjustments should I make after the initial therapy phase?
After reaching the 12-week mark, evaluate your results. If you see improvements, shift to a maintenance schedule of two to three sessions per week instead of stopping entirely to preserve the gains you have made.
Can I use LED hair therapy with other hair treatments?
Yes, LED hair therapy can usually be combined with other hair treatments or products as long as your scalp is clean and free of blocking products during therapy. Ensure to follow the guidelines for optimal results and assess how your scalp responds to the combination.
Recommended
- Hair Growth Treatment: A Complete Guide to Effective Solutions – Lumilux
- Struggling with Hair Loss? Discover Why Celebrities Swear by the – Lumilux
- Electric Scalp Massager for Hair Growth: 7 Benefits You Should Know – Lumilux
- Boost Hair Growth Naturally with 3-in-1 Red Light Therapy Wand | – Lumilux
- Unlocking the Potential of Hair Growth Therapy for You | MyHair